Deploying Kubeflow
BY ALEX DIAZ - Feb 3, 2024
Welcome to the second part of “Unlocking AI & ML Metal Performance with QBO Kubernetes Engine (QKE)”. In this session, we’ll guide you through the setup of Kubeflow with Nvidia GPU Operator support in QKE. If you missed part one, make sure to catch up before diving into this session.
QBO Kubernetes Engine (QKE) offers unparalleled performance for any ML and AI workloads, bypassing the constraints of traditional virtual machines. By deploying Kubernetes components using Kubernetes-in-Docker technology, it grants direct access to hardware resources. This approach delivers the agility of the cloud while maintaining optimal performance.
Kubeflow installation
Kubeflow plays a crucial role in democratizing AI by providing a unified platform that enables organizations to efficiently develop, deploy, and manage AI applications at scale.
Prior to beginning, please be advised that this demonstration is entirely automated through the QKE Web Terminal using QBOT and supported in QBO Community Edition (Linux and Windows WSL2) and QBO Cloud Edition. QBOT will execute the same commands you are about to input. Therefore, if you do not intend to make any modifications and wish to observe the process, I recommend utilizing QBOT for optimal efficiency and accuracy. You can simply run the following from the QKE Terminal and press enter to activate the next command.
cd qbot
./qbot kubeflow
It is now Kubeflow time! Let’s begin the Kubeflow installation process by cloning the Kubeflow repository using git.
- Get kubeflow repo
git clone https://github.com/kubeflow/manifests.git |
- Checkout Kubeflow Tag
Let’s switch to version v1.7.0, which is compatible with the Kubernetes version we’ve recently installed.
cd manifests/ |
We’ll use a Kustomize-based approach to install Kubeflow, allowing for flexible deployment across different environments, including Kubernetes-in-Docker in this case.
Now, let’s install Kustomize using the provided installation shell script.
- Install Kustomize
curl -s \"https://raw.githubusercontent.com/kubernetes-sigs/kustomize/master/hack/install_kustomize.sh\" | bash |
- Install Kubeflow with kustomize
Kustomize has been successfully installed on the system, and now we can proceed with the Kubeflow installation.
The following command will execute in a loop, continuously checking for the readiness of the components. It will stop once all components are up and running.
while ! ./kustomize build example | kubectl apply -f -; do echo \"Retrying to apply resources\"; sleep 10; done |
Kubeflow Configuration
- Configure for Kubernetes-in-Docker
Since we’re employing Kubernetes-in-Docker, or more specifically Containerd within Docker, we need to reconfigure Kubeflow to utilize Containerd. This can be accomplished with the following command:
./kustomize build apps/pipeline/upstream/env/platform-agnostic-multi-user-pns | kubectl apply -f - |
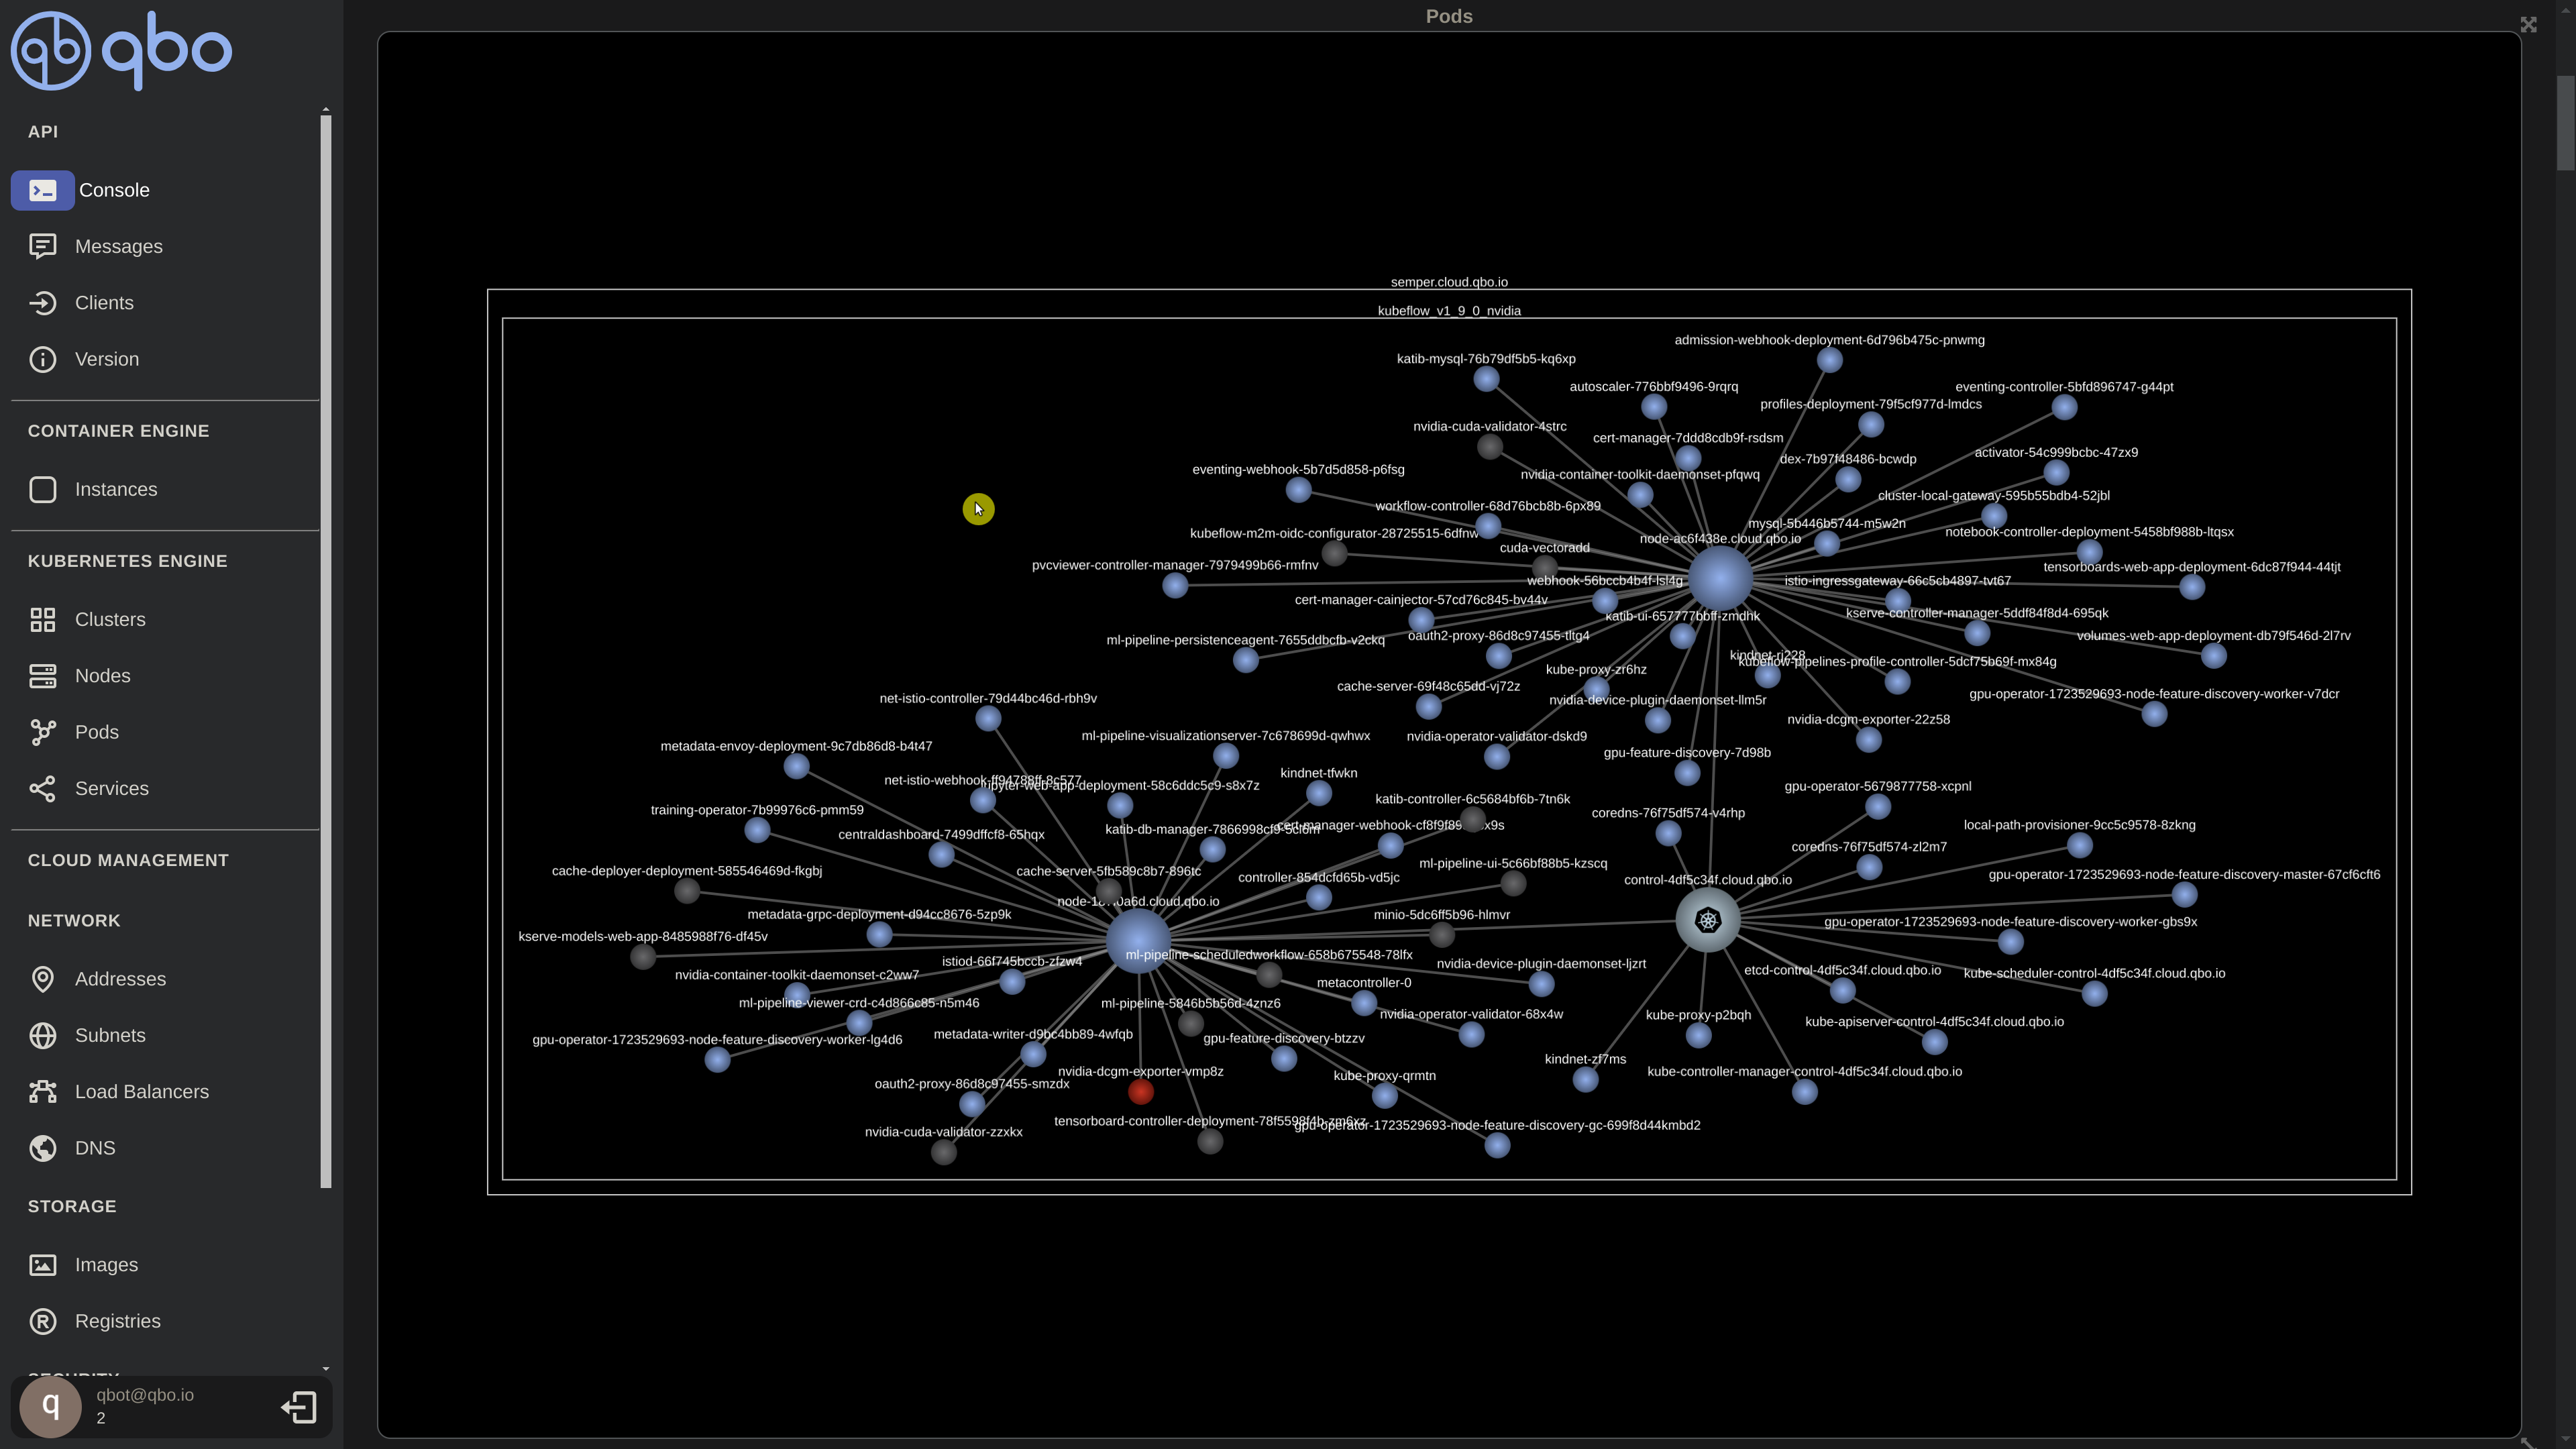
- Wait for all the components
As before, we’ll wait for all components to reach the ‘Running’ stage or appear as blue nodes in the neural graph.
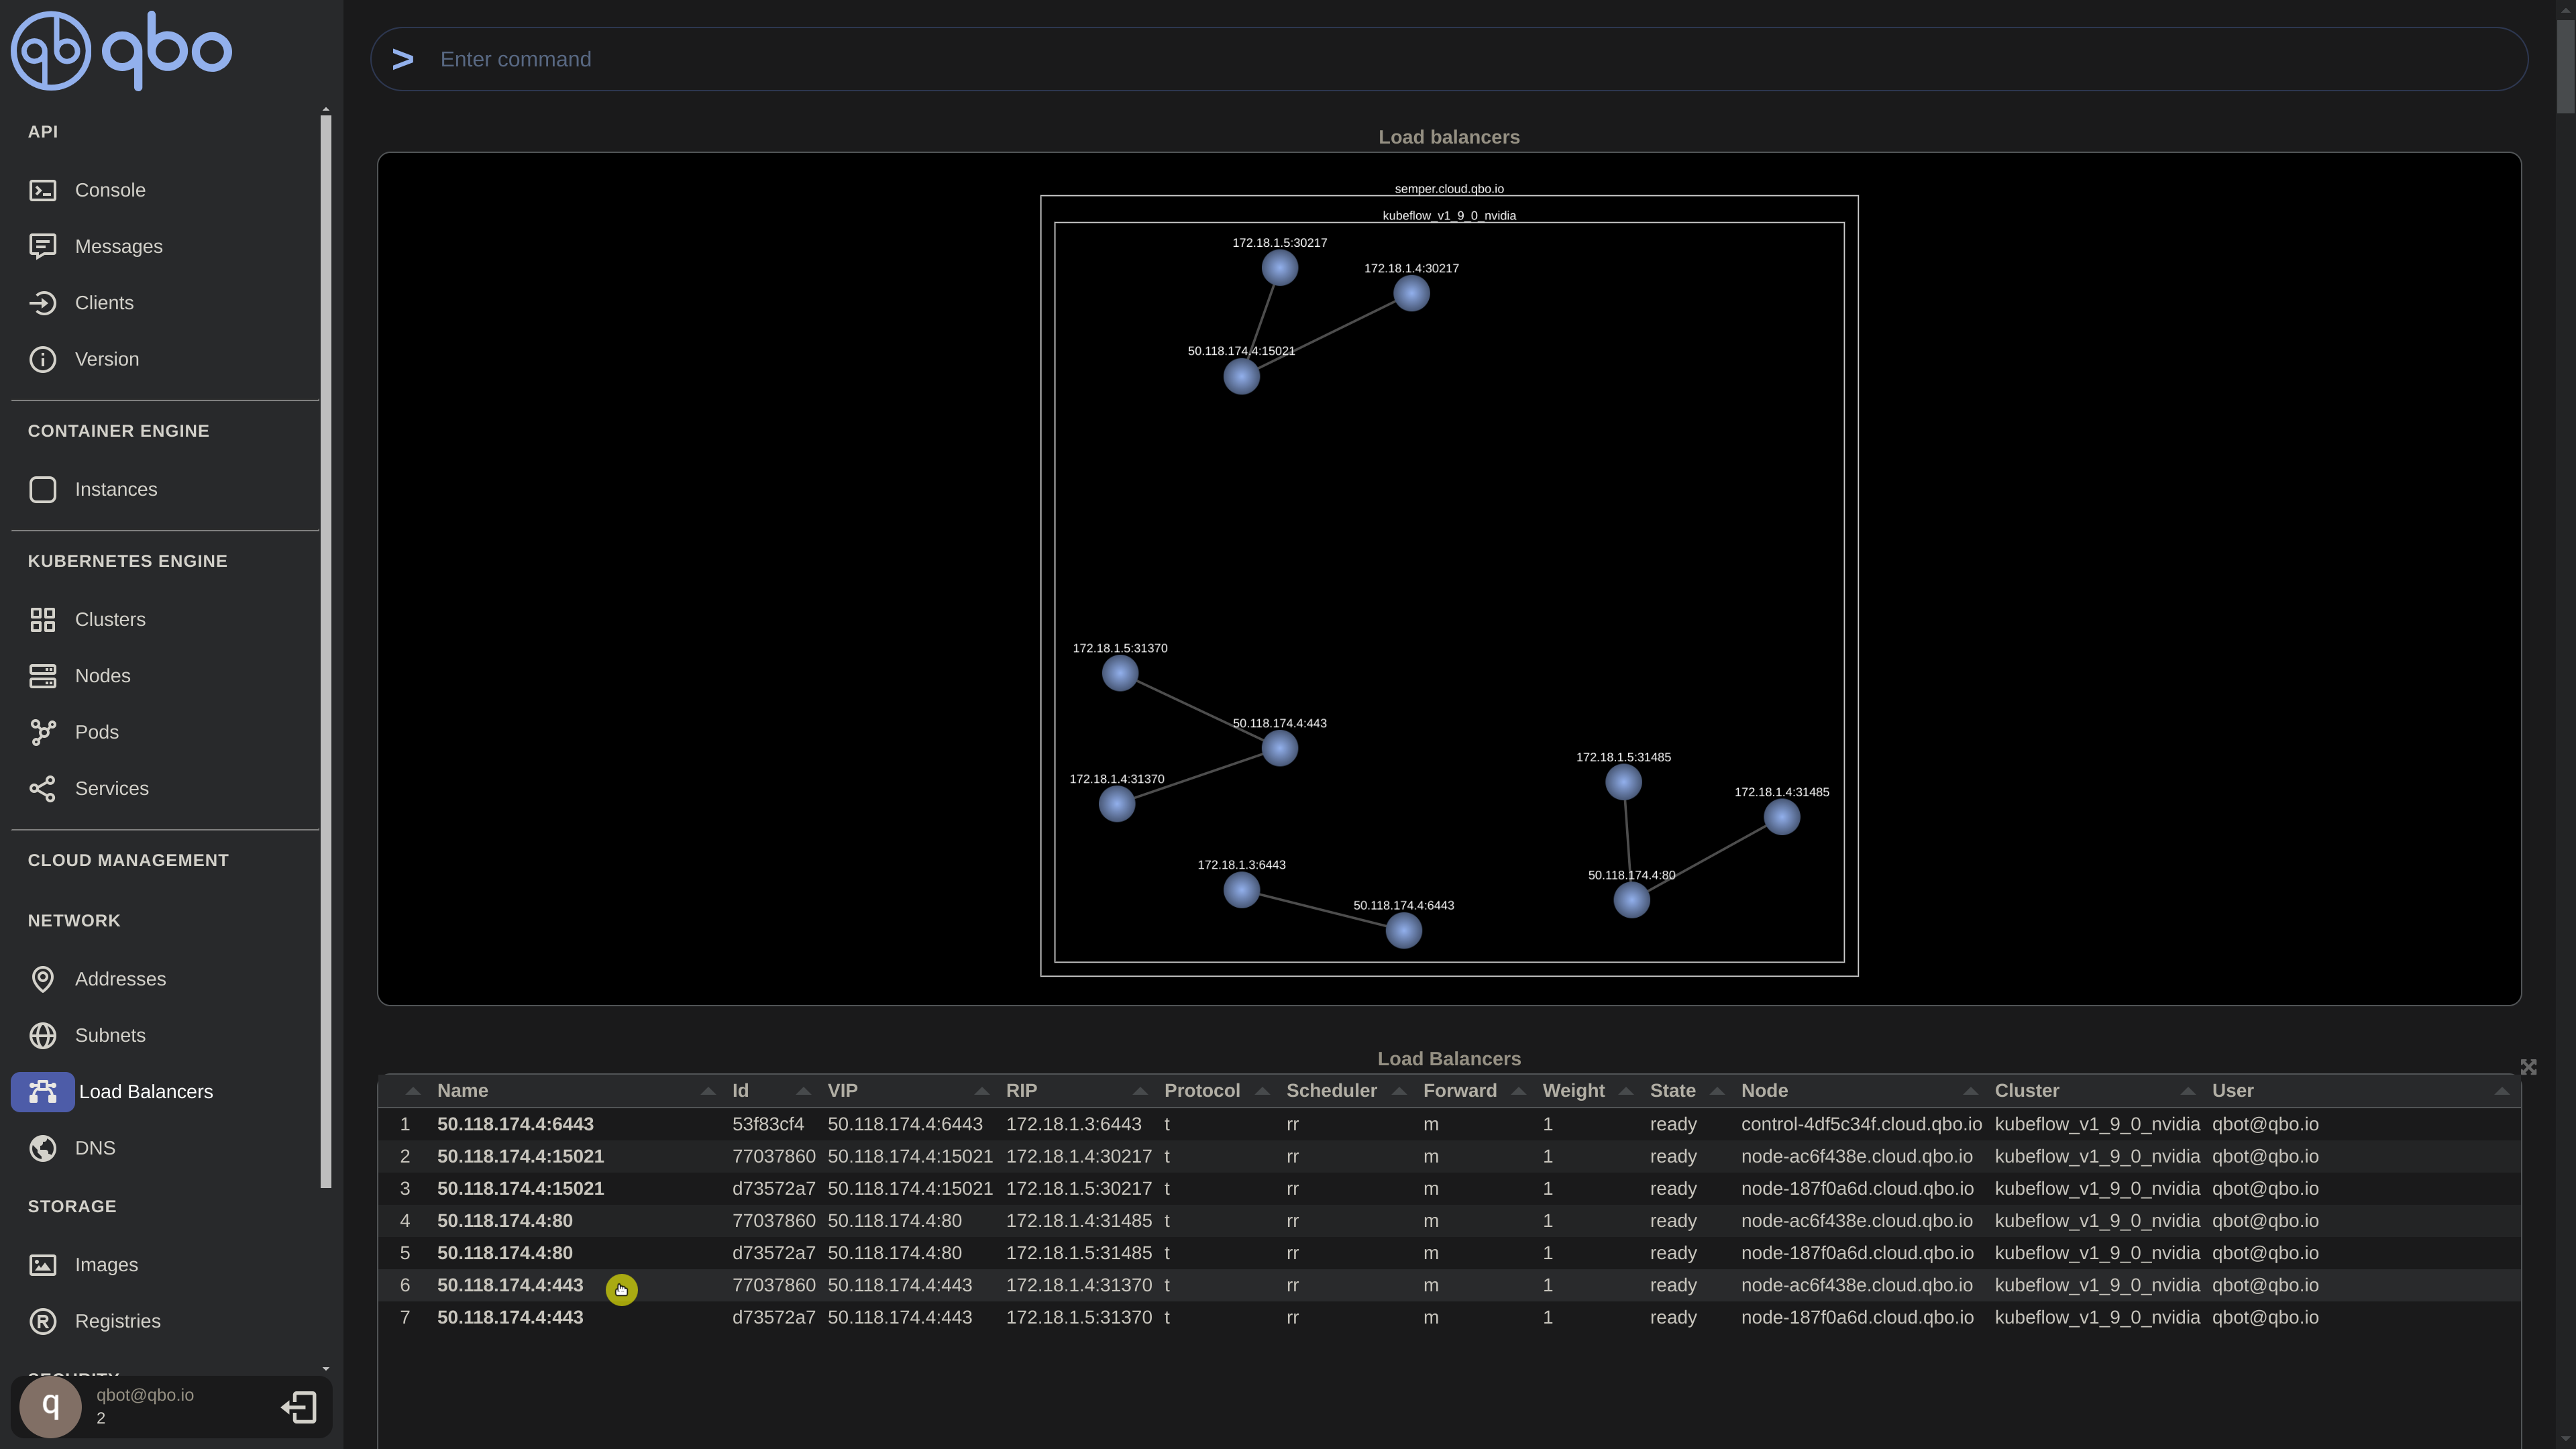
Patch to use a load balancer
In qbo Cloud, we have access to load balancers, which we can utilize to reconfigure the Istio Gateway. Let’s proceed to patch the Istio ingress gateways accordingly.
For the QBO Community Edition, you can keep the configuration as default (ClusterIP) and set up a port forward with kubectl. This will enable access to the UI using the local IP.
kubectl patch svc istio-ingressgateway --type='json' -p '[{\"op\":\"replace\",\"path\":\"/spec/type\",\"value\":\"LoadBalancer\"}]' -n istio-system |
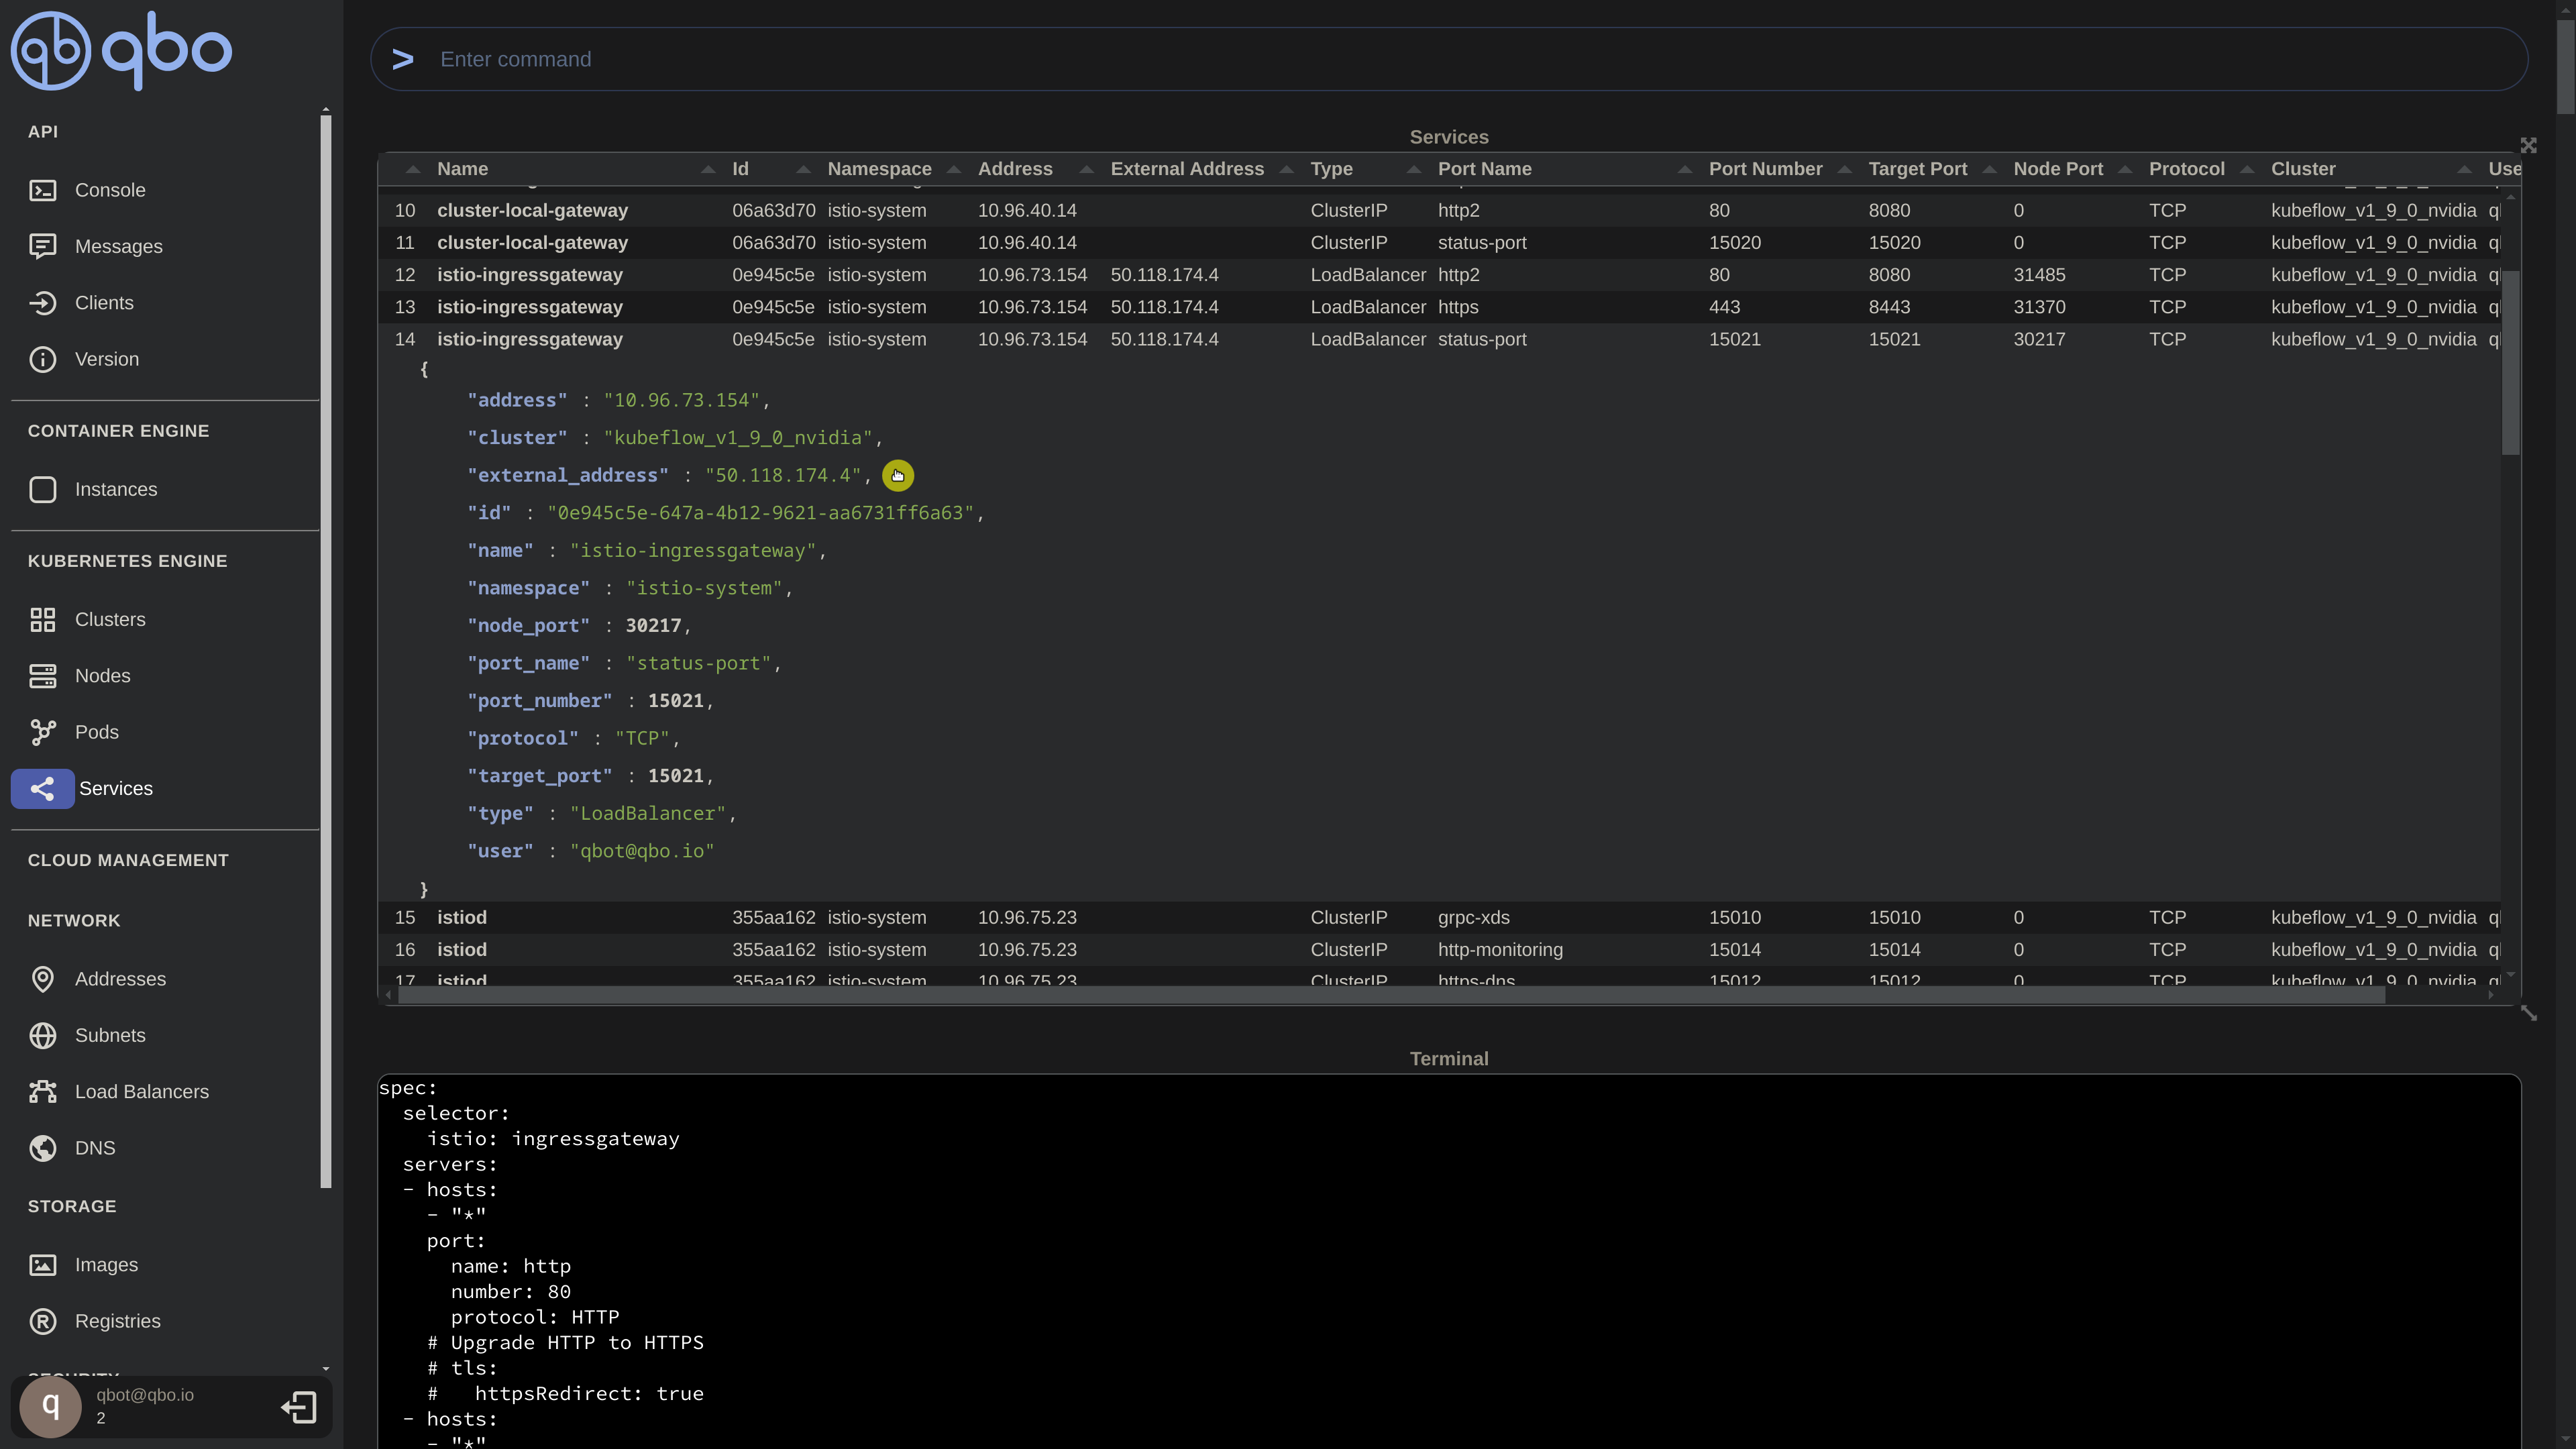
Here, we observe all Kubernetes services generated by the Kubeflow deployment, along with the Load Balancer created by the Istio Ingress Gateway. We’ll utilize this information to access the Kubeflow UI.
Kubeflow UI Access
- Configure Self Signed Certificate
Before proceeding, let’s handle the certificate components for the Kubeflow UI. For this demonstration, we’ll utilize a self-signed certificate and configure it as follows:
cat certificate.yaml |
- Configure Istio Gateway
We’ll also need to adjust our gateway to utilize HTTPS on port 443 and incorporate the certificate configuration we’ve just created.
cat gateway.yaml |
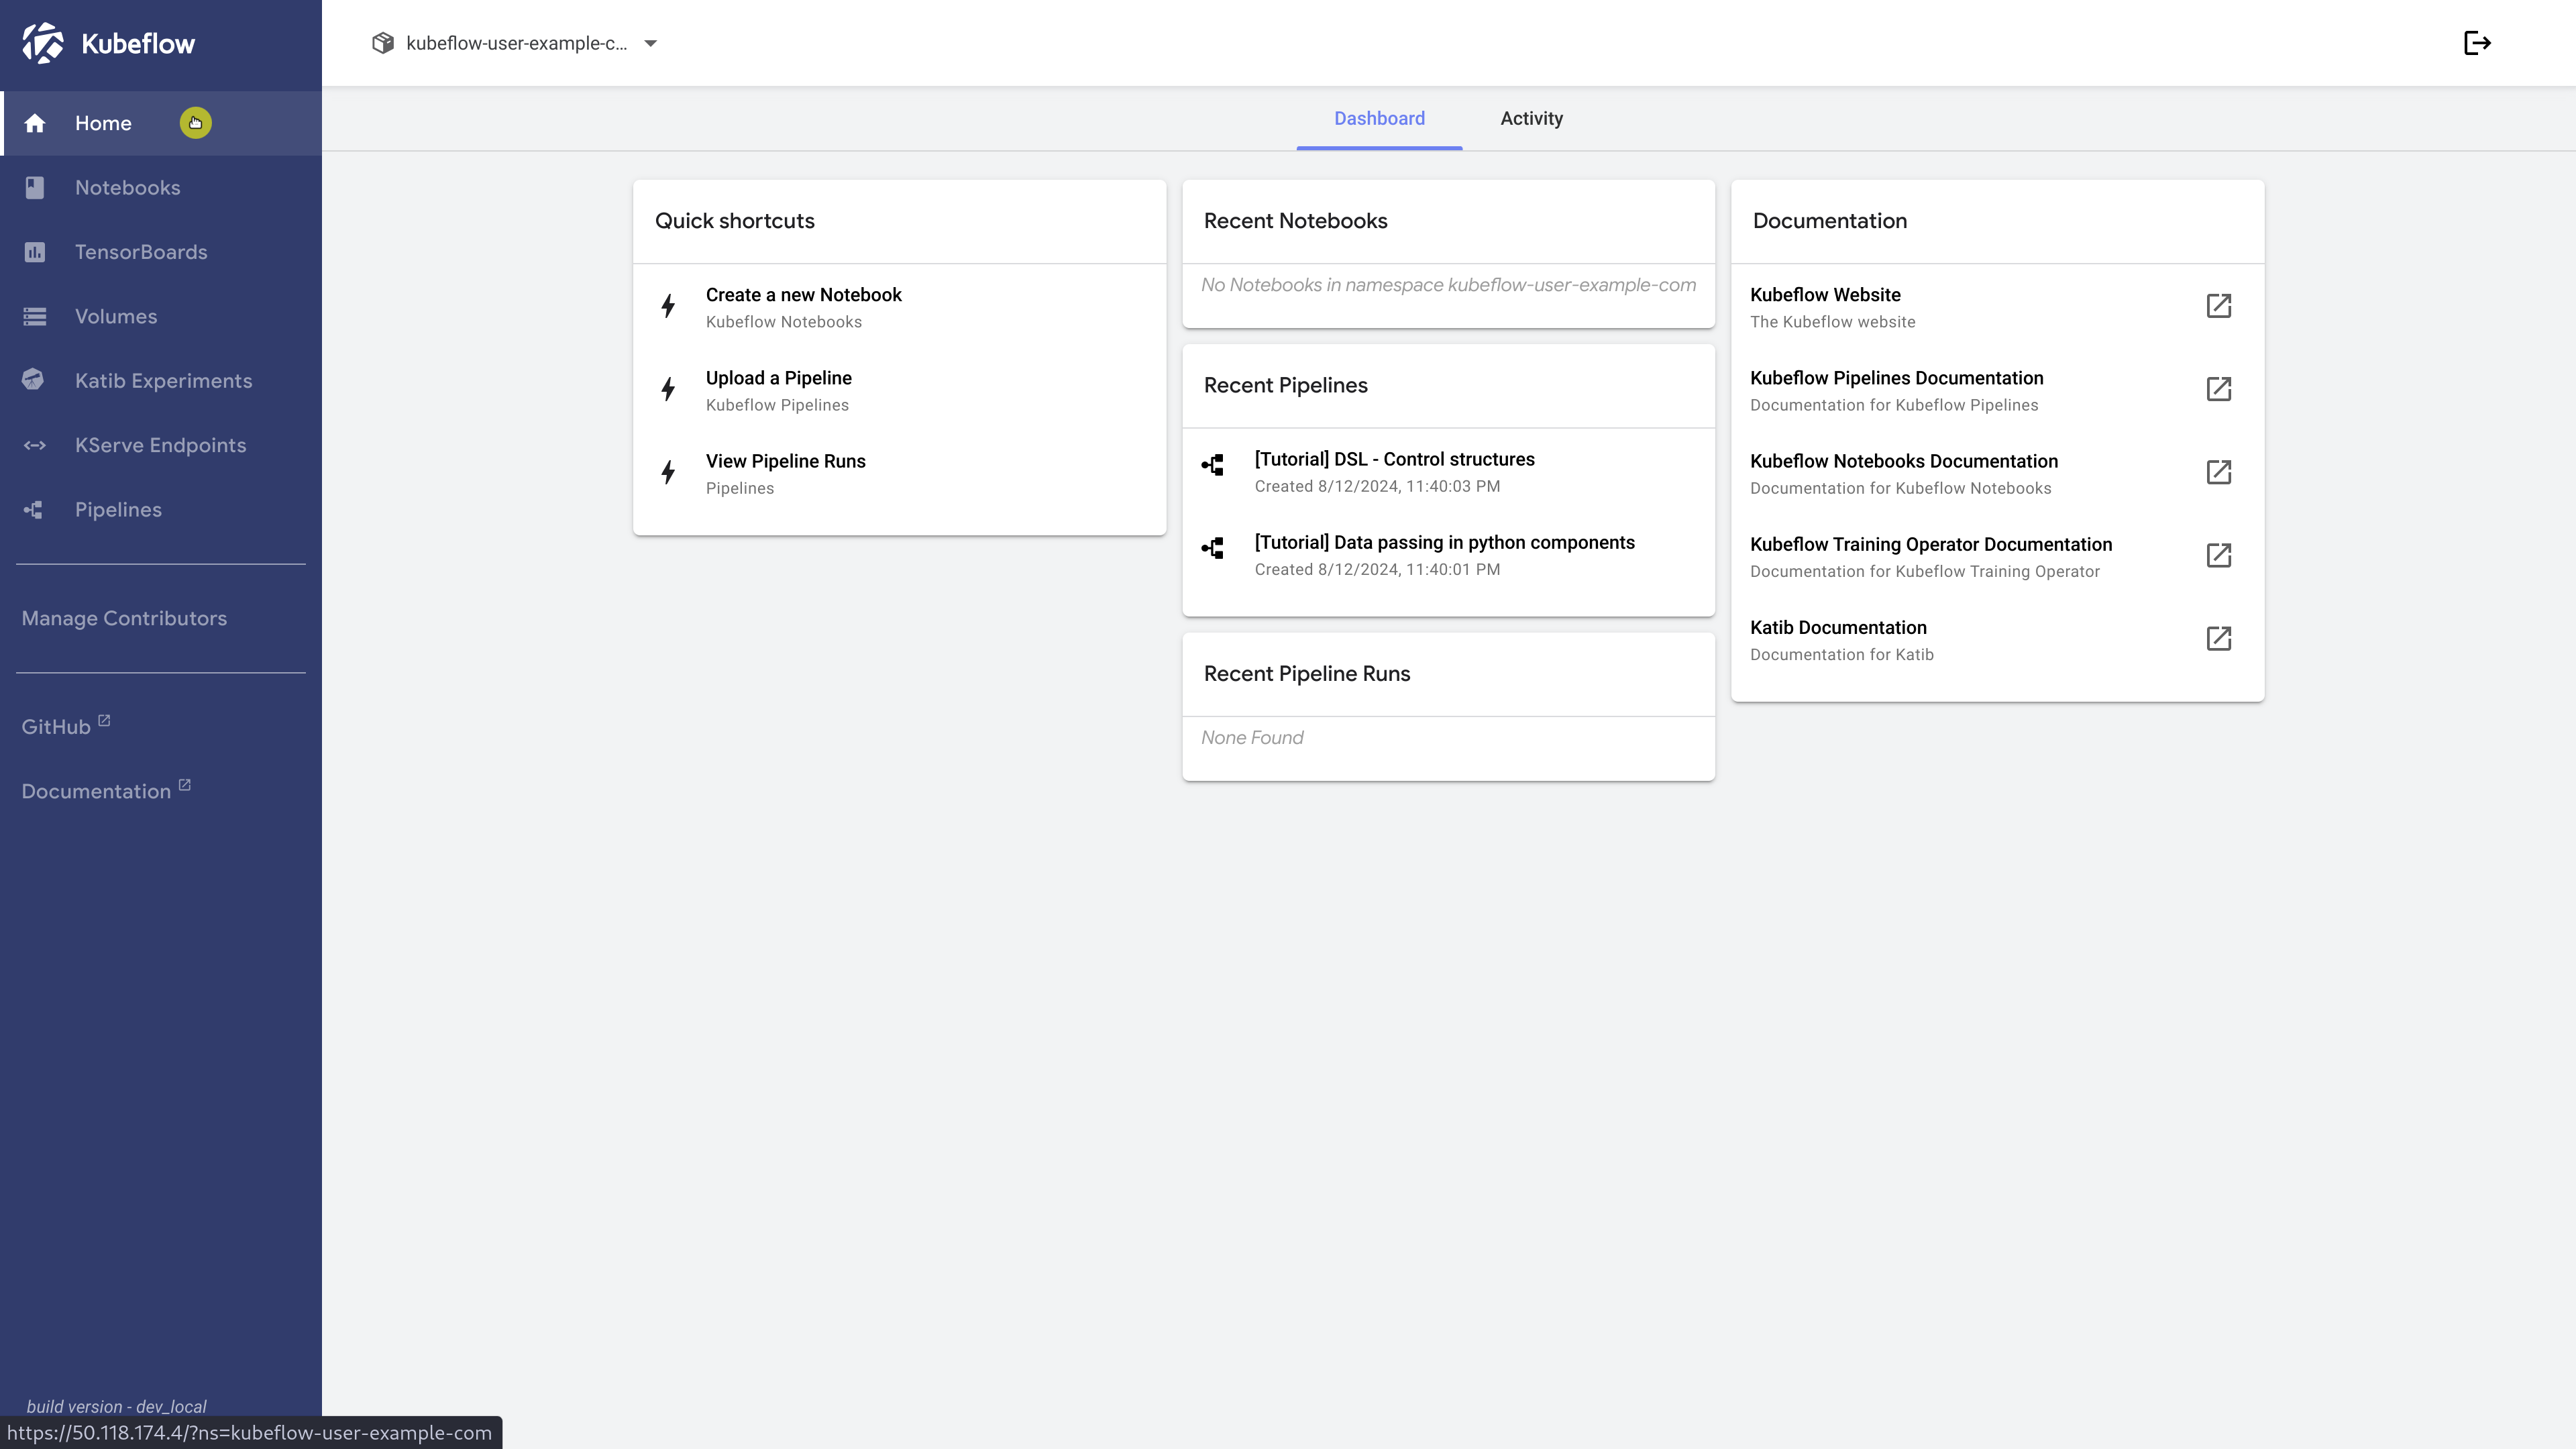
Access Kubeflow UI
Afterward, open your browser and navigate to the previously identified load balancer IP on port 443. (Navigate to the load balancer config and show relent address info) Log in using the default credentials: [email protected] and 12341234.
Since we’re using a self-signed certificate, your browser may display a warning stating ‘Your connection is not private’
We can proceed by clicking ‘Advanced’ and then selecting ‘Proceed to…’
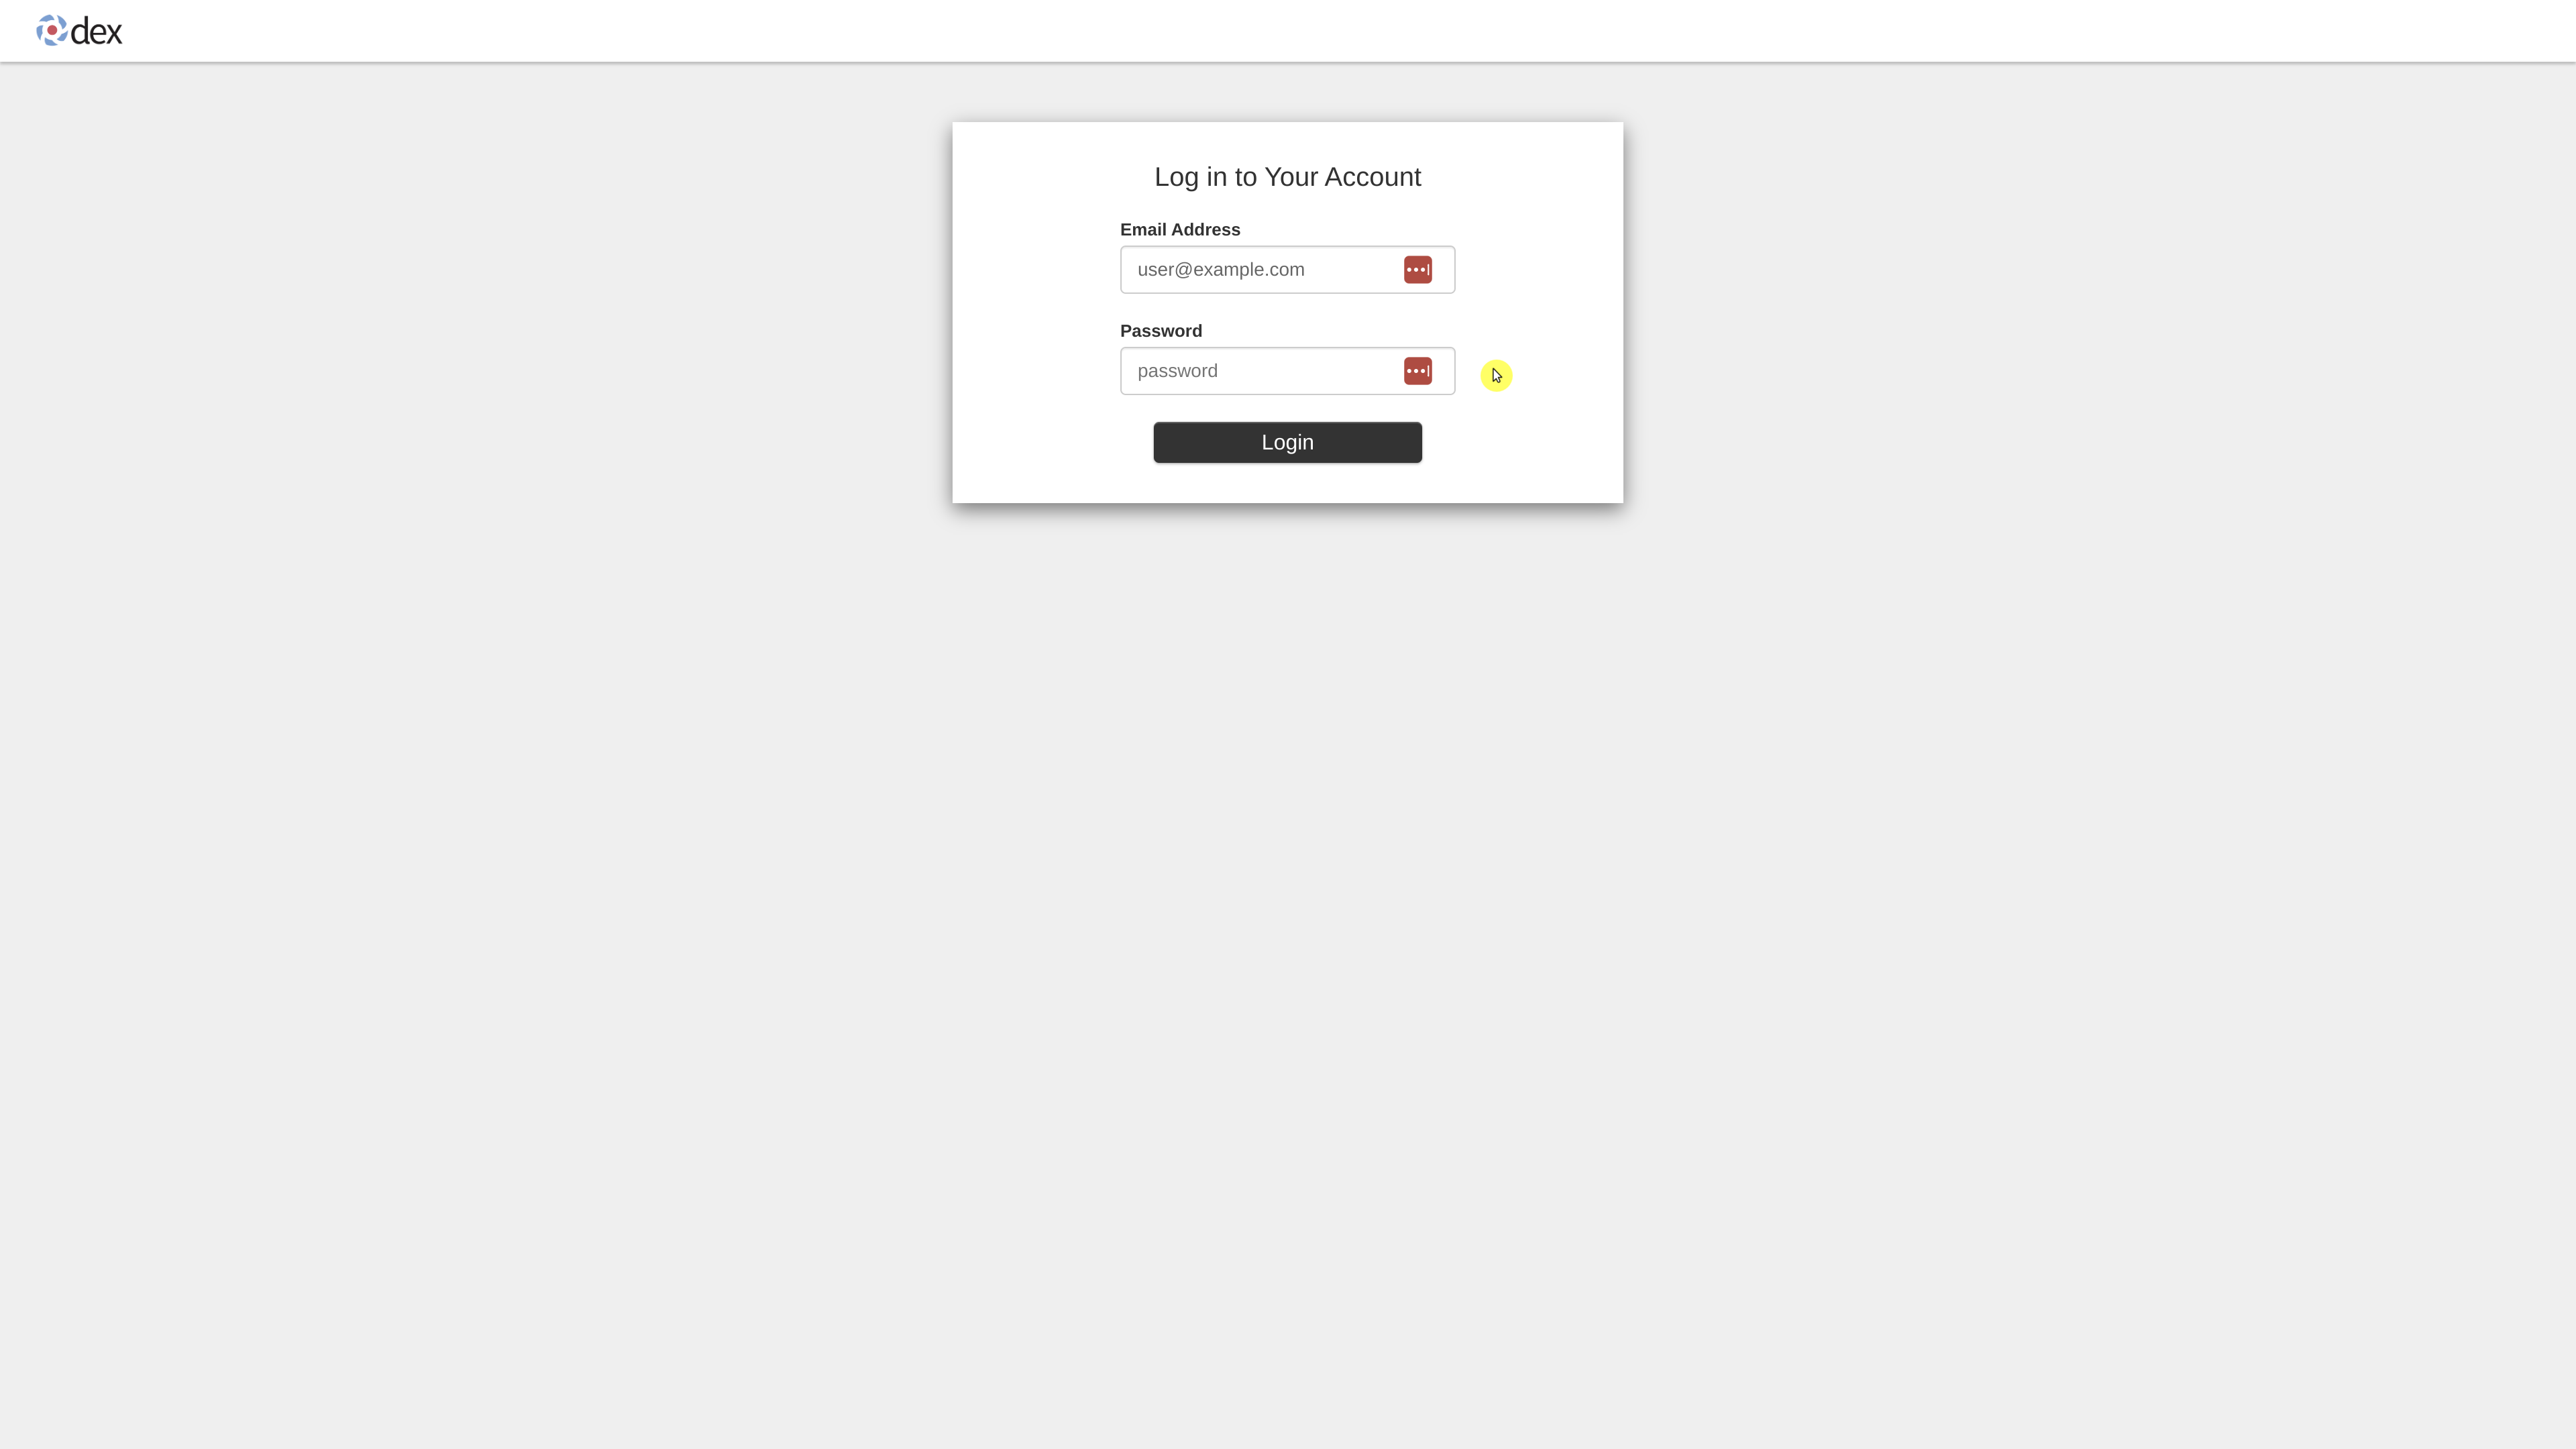
Wooo we are in!
Kubeflow GPU Test
- Testing our GPUs
Now, let’s verify that our GPUs are accessible and functioning properly.
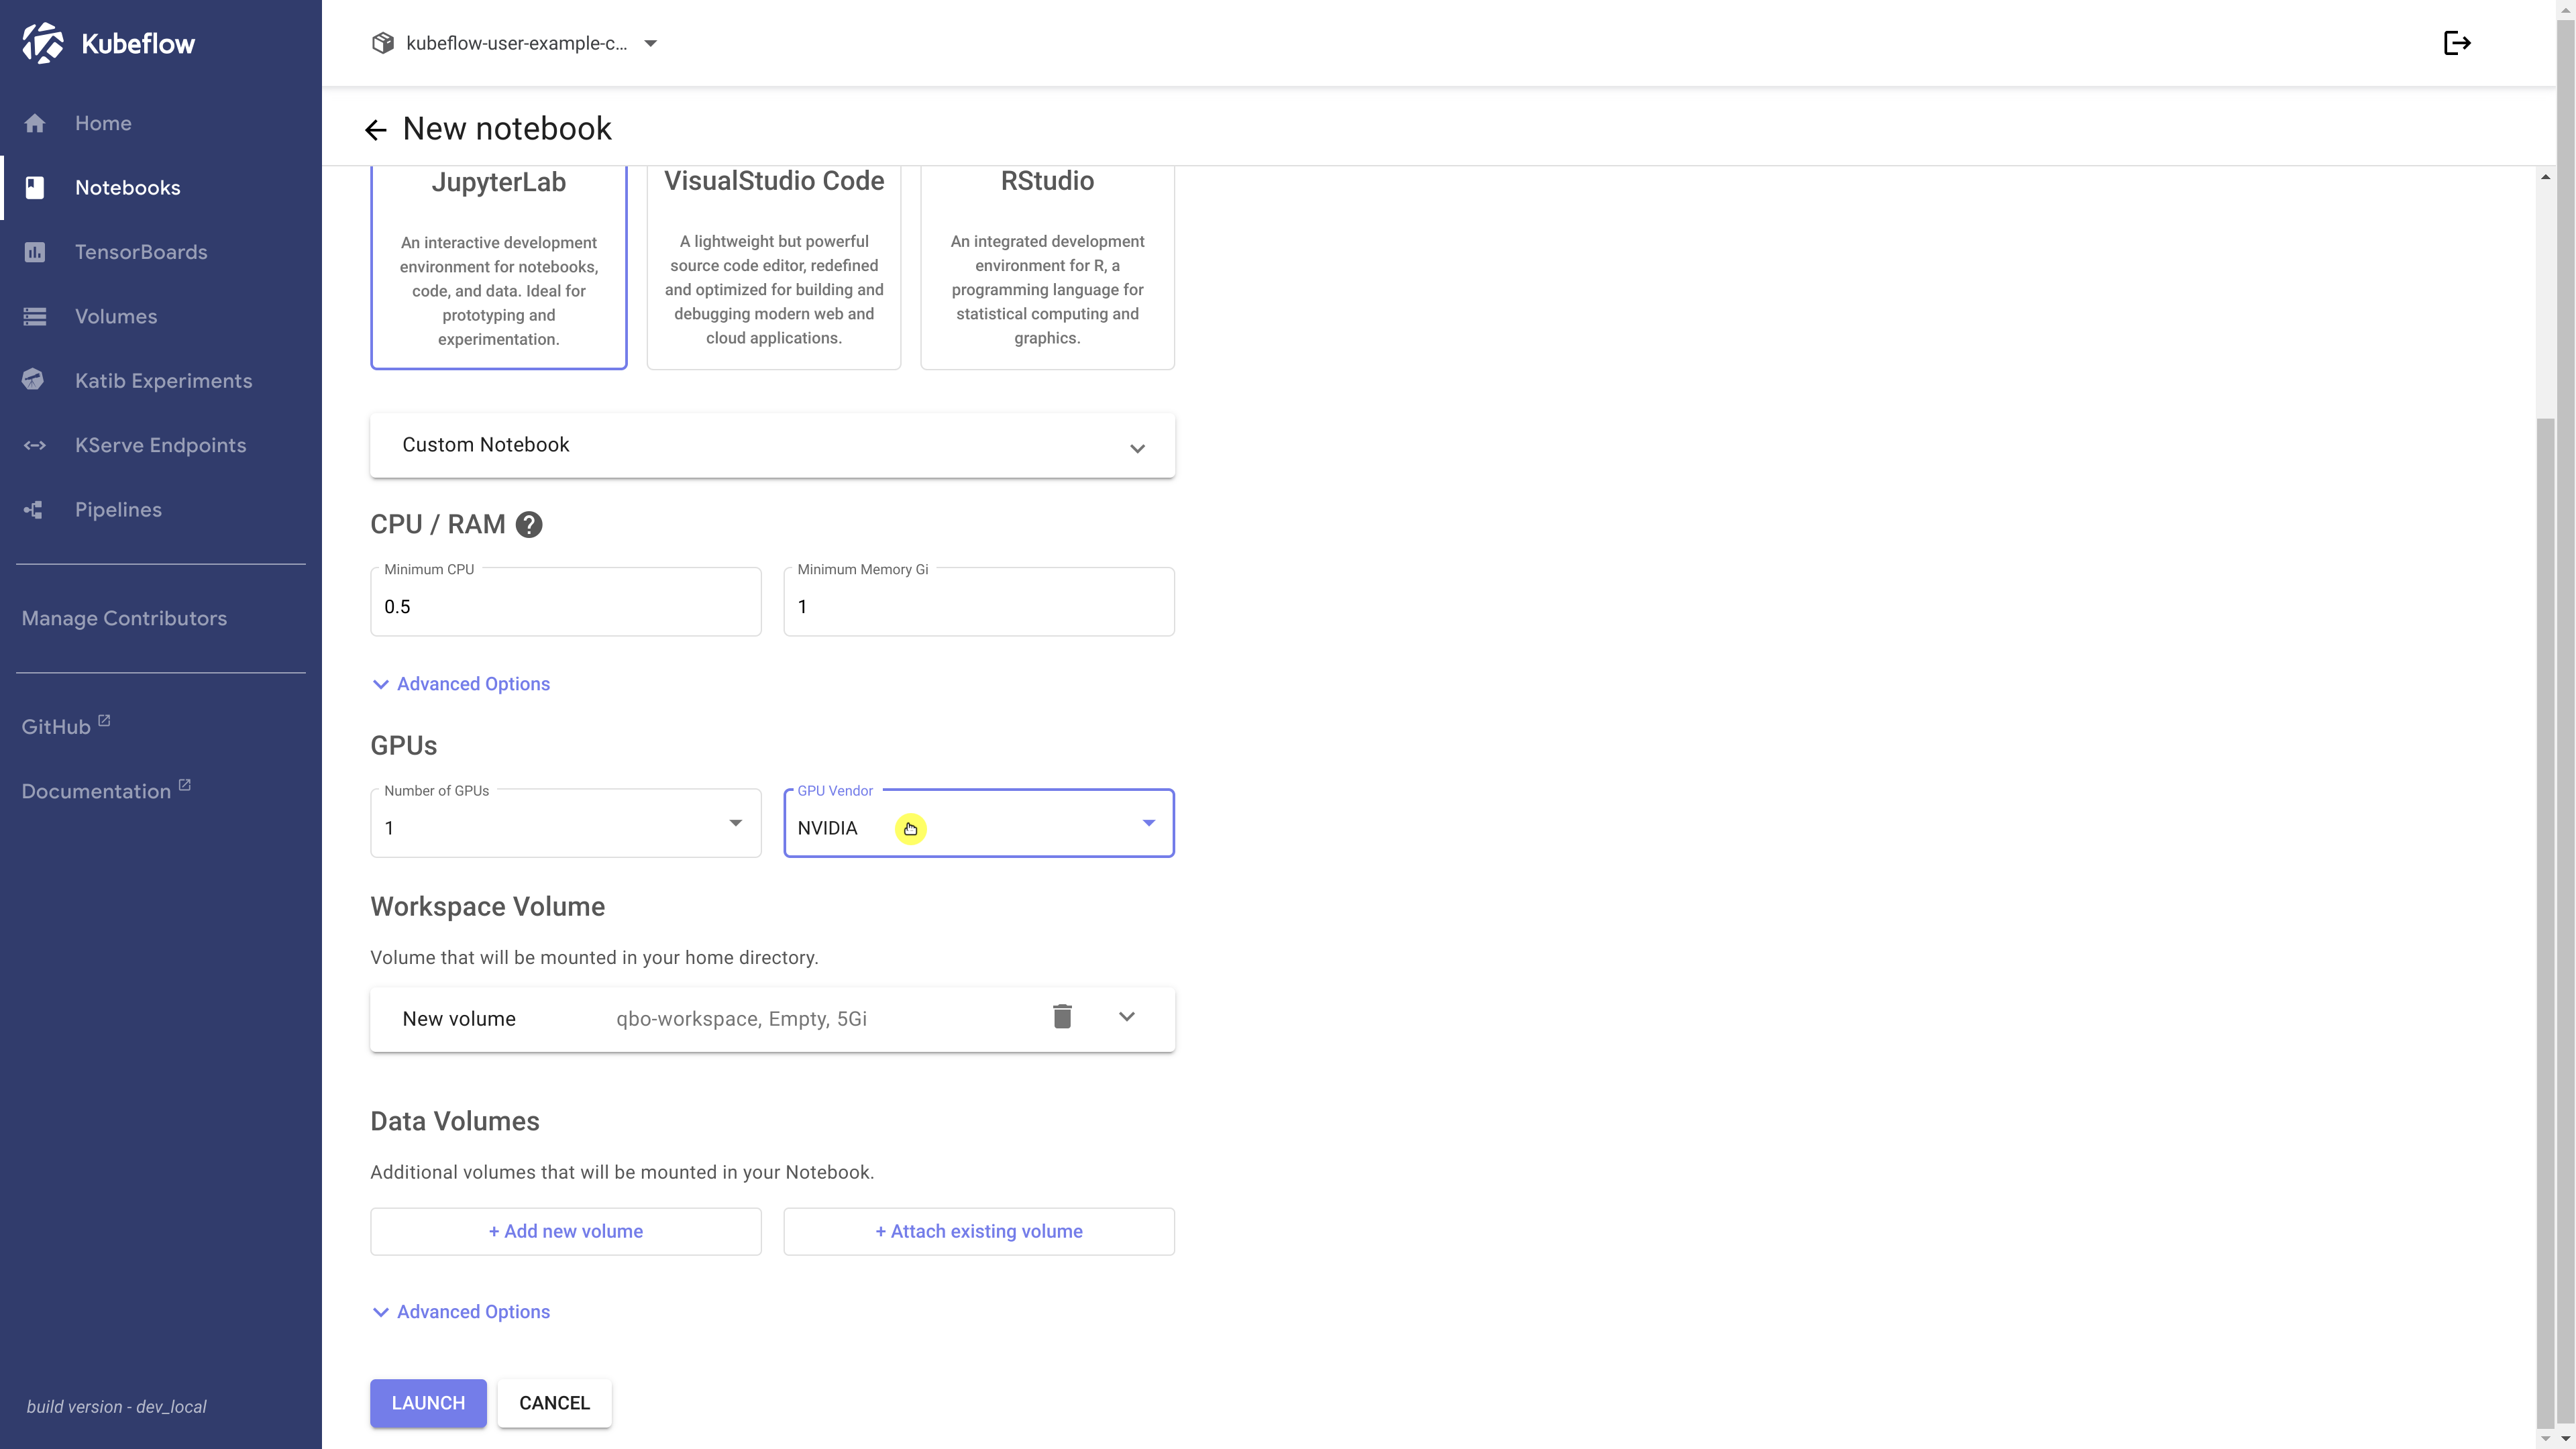
Notebooks with GPUs
To begin, navigate to the Notebooks section and initiate a new Jupyter session. Provide a name for your notebook, select a single GPU, and keep all other settings as default.
It may take some time to pull the image, but once completed, we should see the green checkmark indicating success.
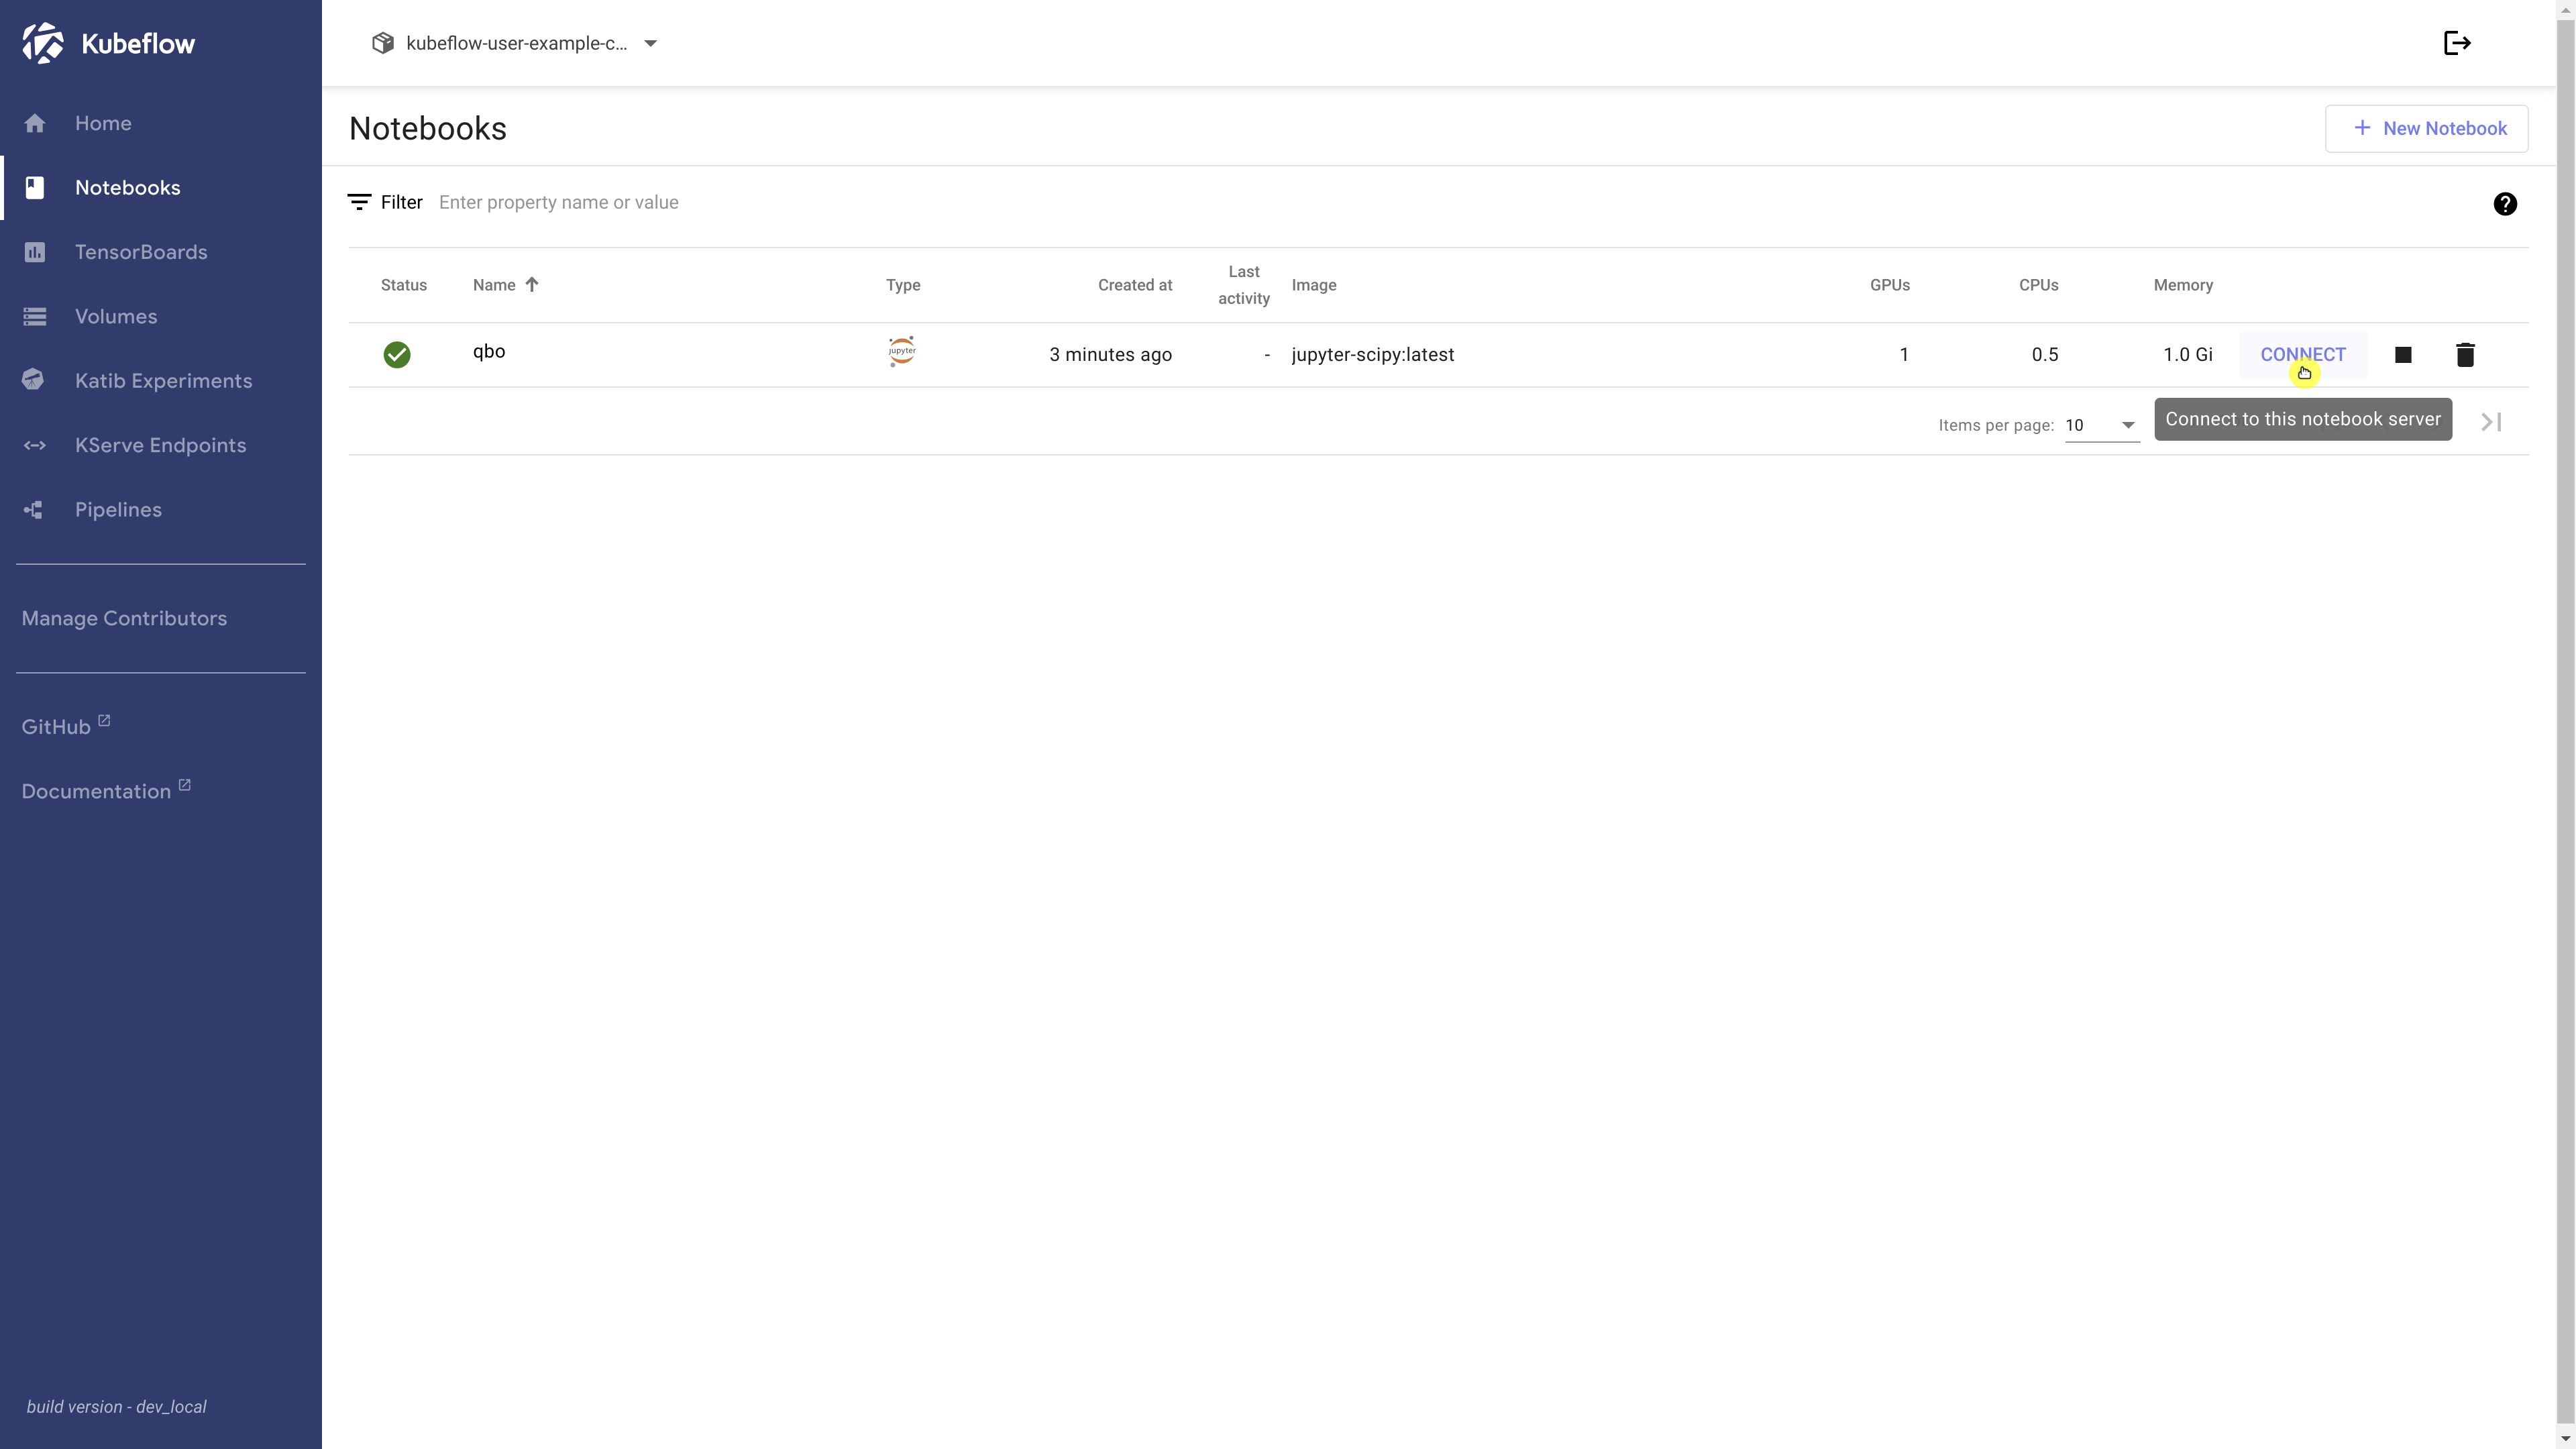
We should be able to click ‘Connect’ to launch Jupyter Lab and then run ‘nvidia-smi’ in a terminal to confirm that our GPU is available.
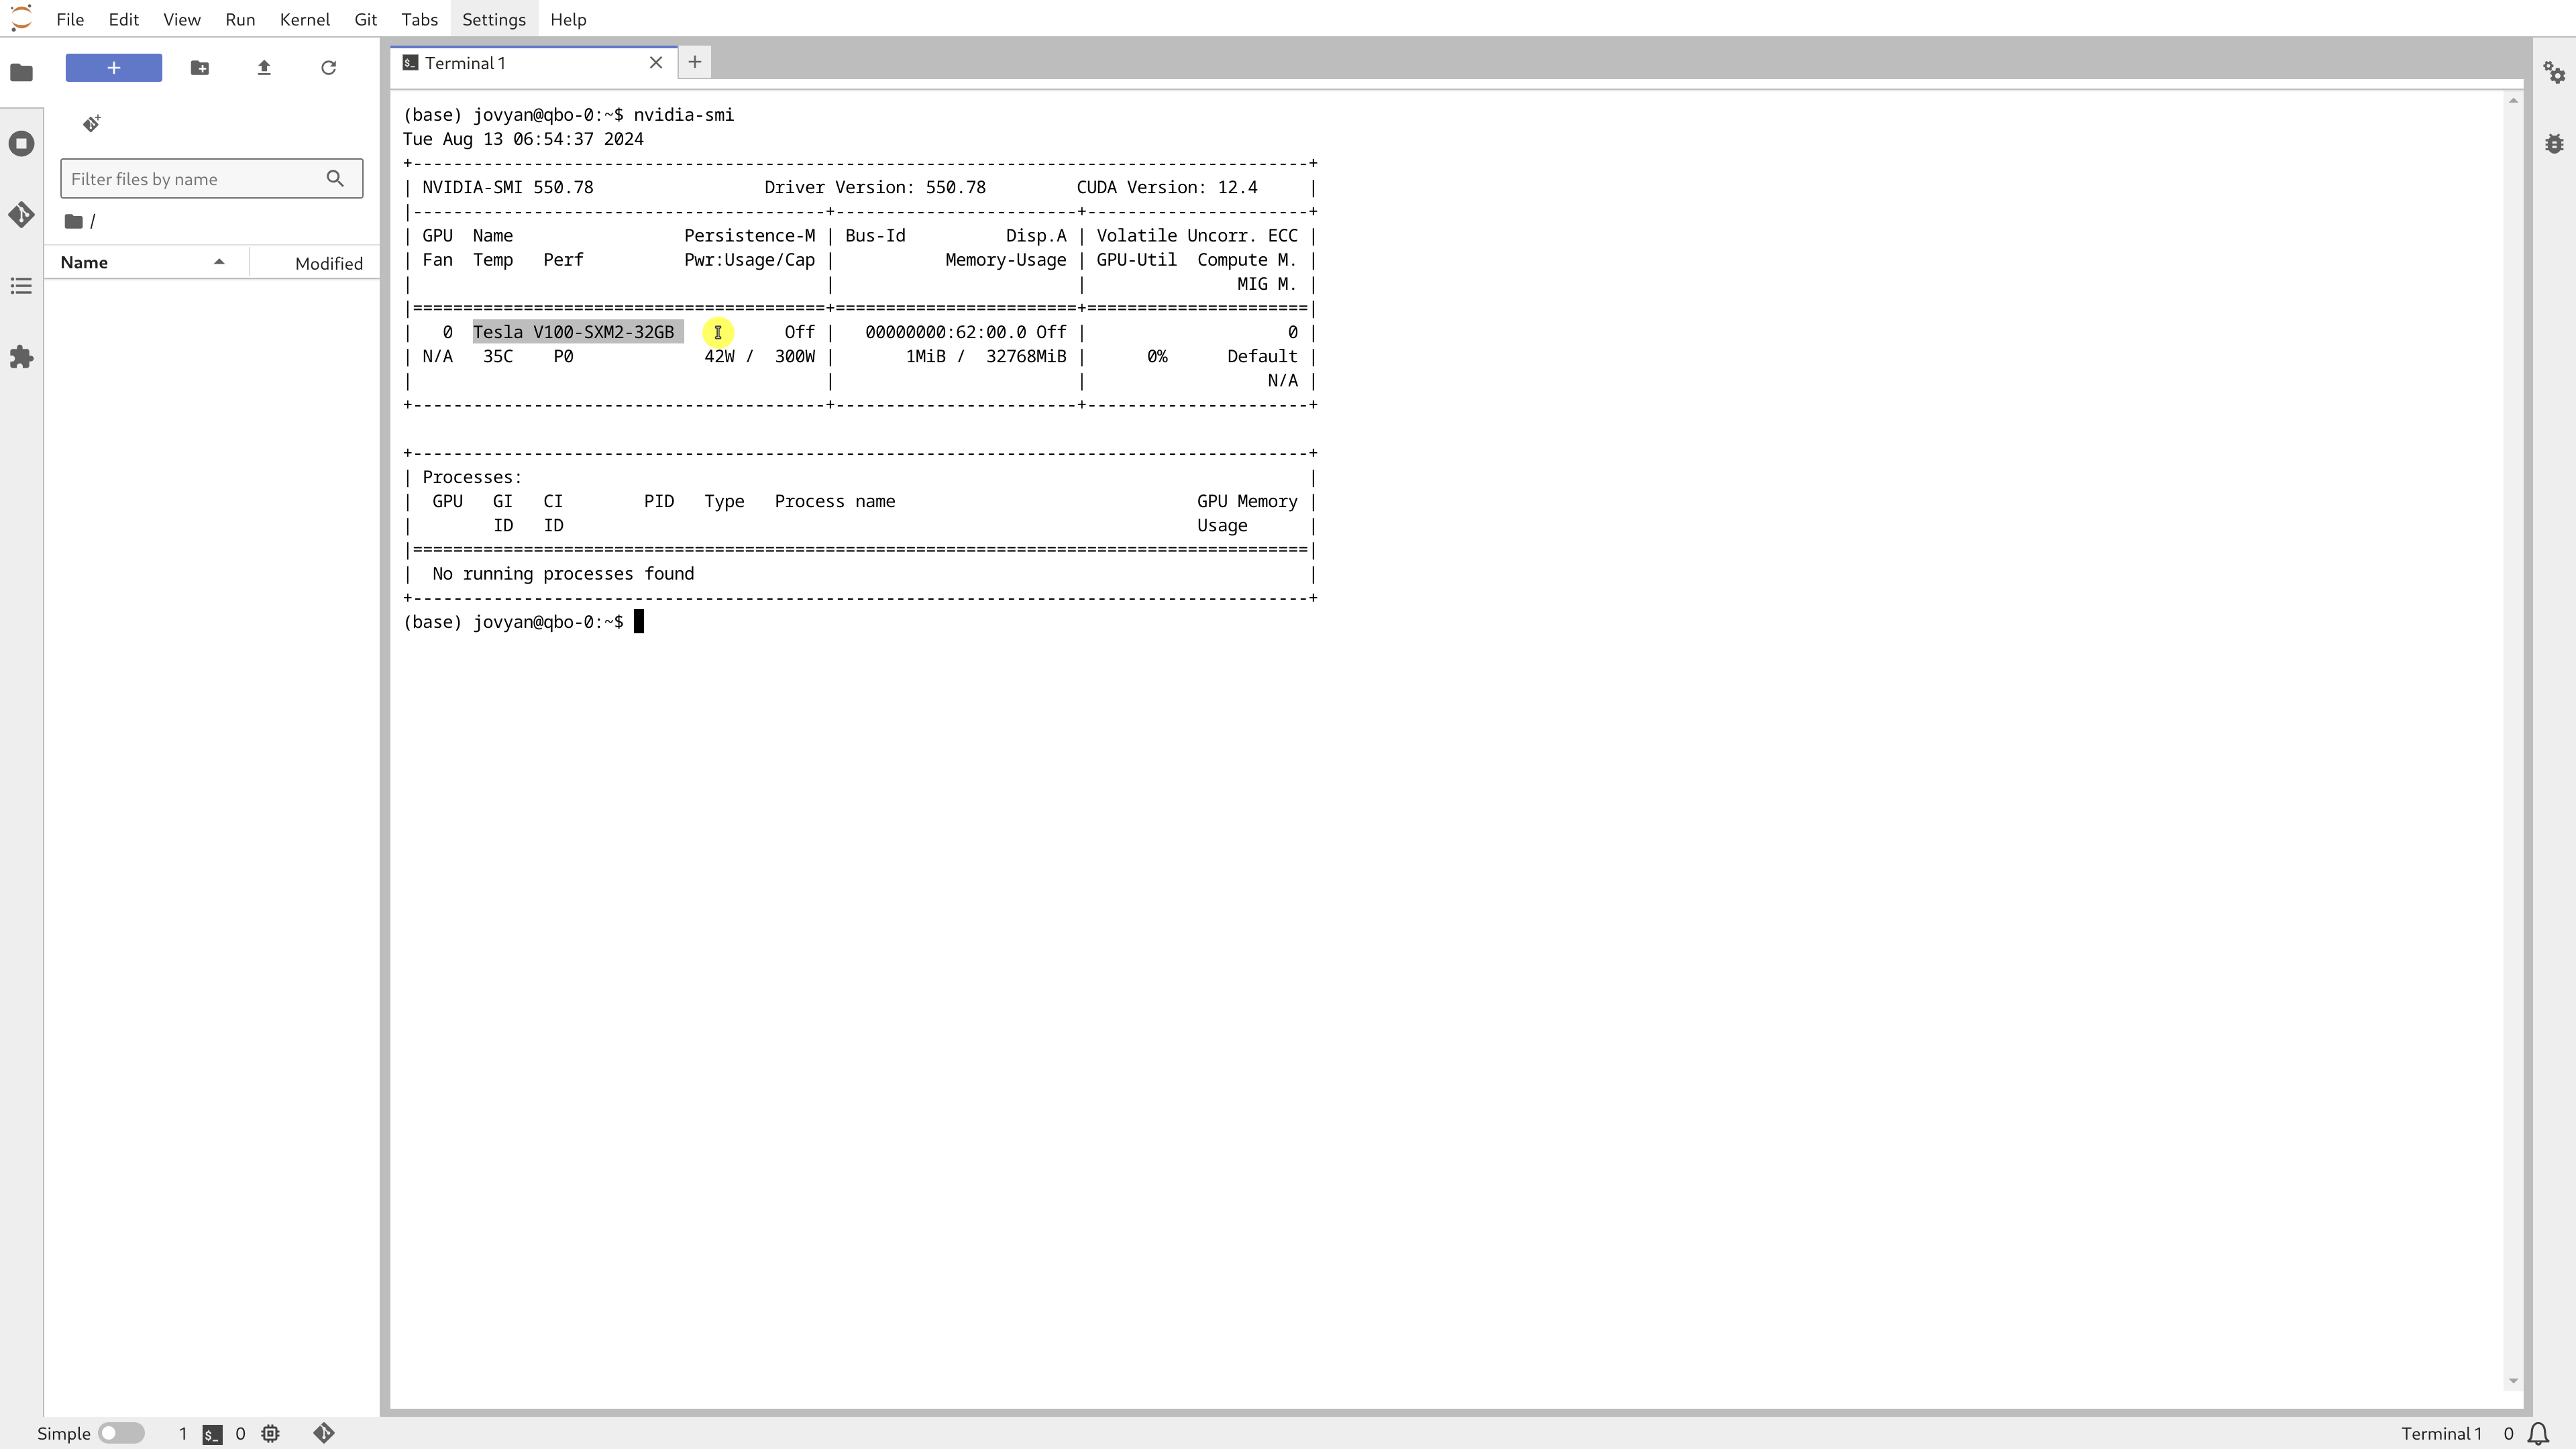
Fantastic! Kubeflow is now fully operational with Nvidia GPU support.
At this stage, we have a Kubernetes cluster equipped with the Nvidia GPU operator and Kubeflow, all without virtualization and with direct access to all hardware resources, while still enjoying the full advantages of cloud computing.
Thank you for tuning in! Keep an eye out for more blog posts on “Unlocking AI & ML Metal Performance with QBO Kubernetes Engine (QKE).”